
We're all over Concrete Floor Preparation
THE most important aspect of flooring
New and old floors both require quality floor preparation and we've got over 25yrs experience
Commercial | Residential | Industrial
Repair | Prepare | Refinish. Concrete floors and surfaces
Prep Grinding | Concrete Shaving | Floor Leveling | Crack Repairs | Joint Repairs |Spalls
Failing to properly prepare - is preparing to fail
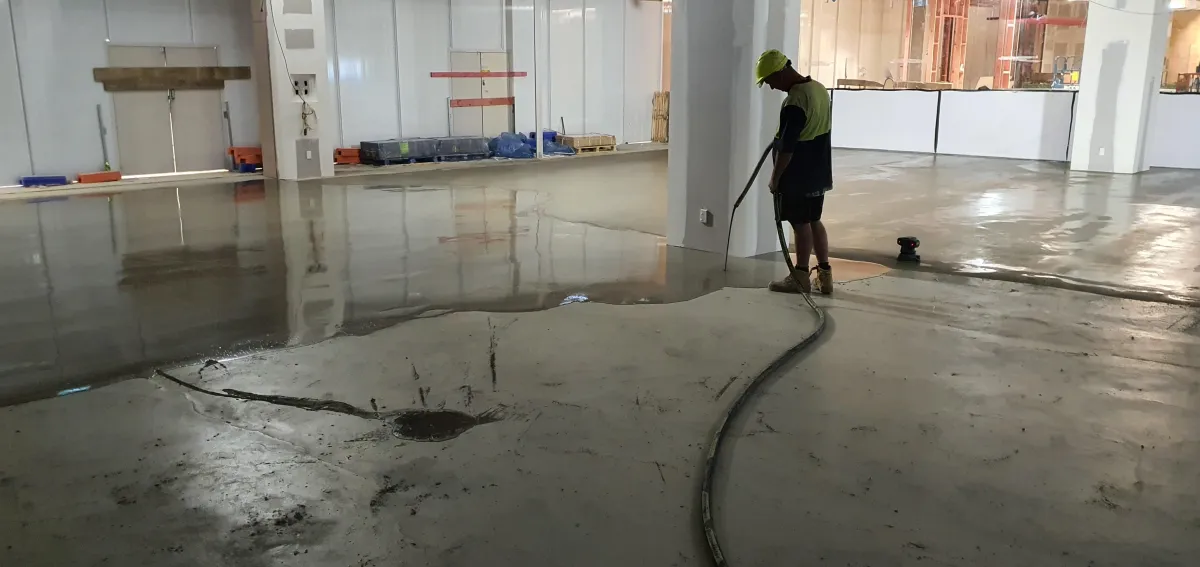
We have a number of systems to add thin layers, or toppings, of cement based compounds to concrete floors and surfaces to make a new durable, attractive surface - without having to remove the existing concrete. The new surface uses the base strength of the existing slab, and puts a new (better) face on it.
Concrete Grinding
Why do we diamond grind concrete?
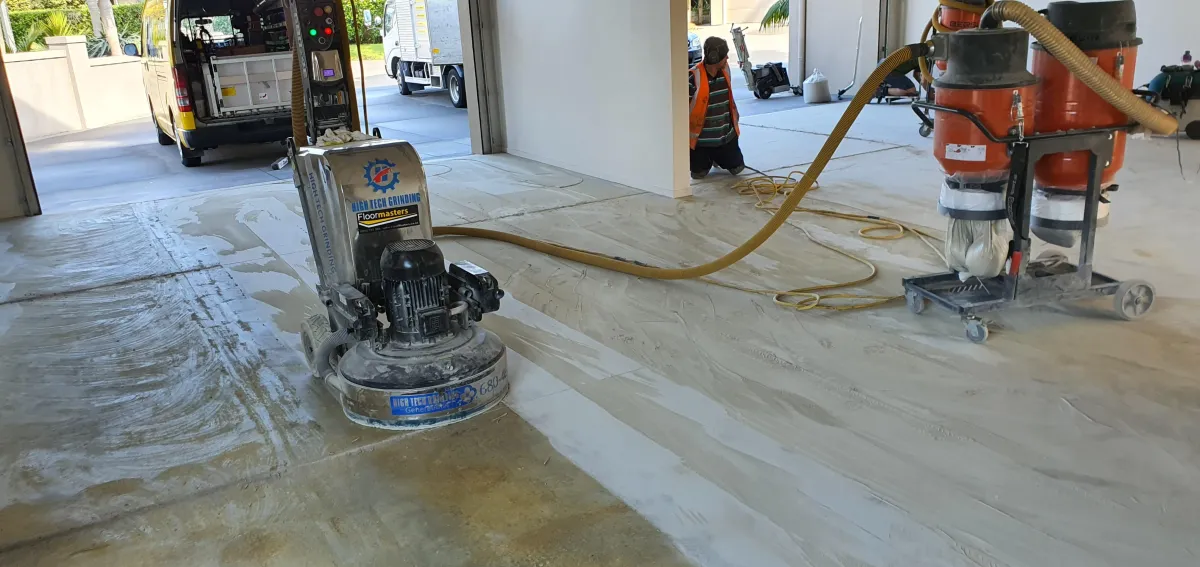
Diamond grinding is our most common form of concrete floor preparation.
We grind concrete floors for a number of reasons
To remove the surface - the surface of concrete can be quite dense and that can stop flooring products (glues, coatings, levelling compounds...) from getting a strong bond the the surface - leading to failures.
The remove contaminates - the surface of the concrete may have oils, wax, paint ... all manner of contamination that prevents the new product soaking into the surface.
To smooth or flatten the floor - Out grinders typically grind more off the high points of the floor and help make the surface flatter. Additional work can be done to grind down humps.
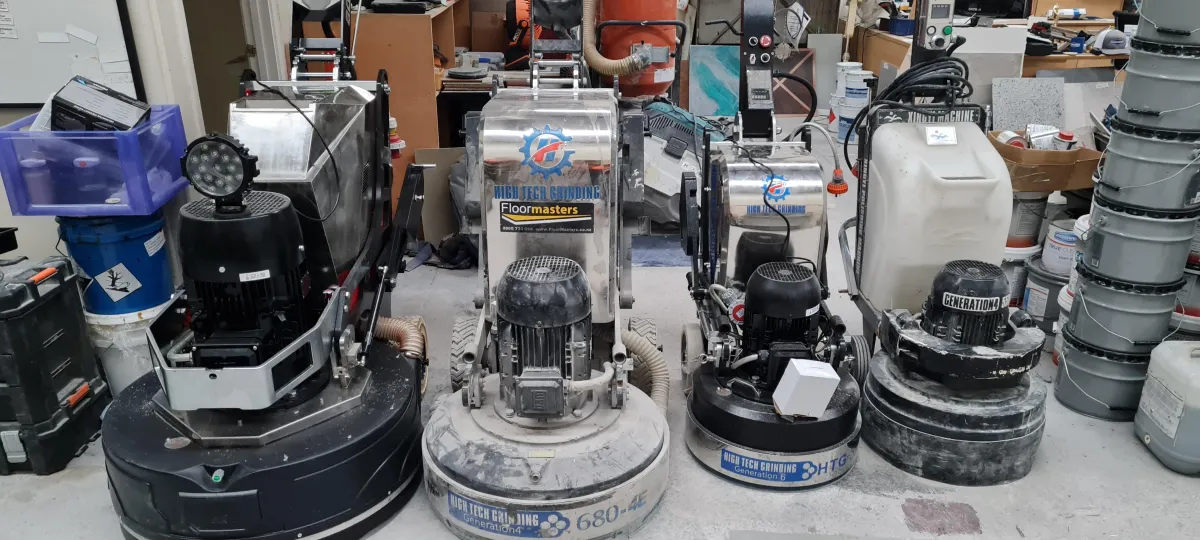
Our two biggest grinders are remote controlled and weigh 425 and 555kg.
We have the vacuums to match and capture the dust.
Shaving/Hump removal
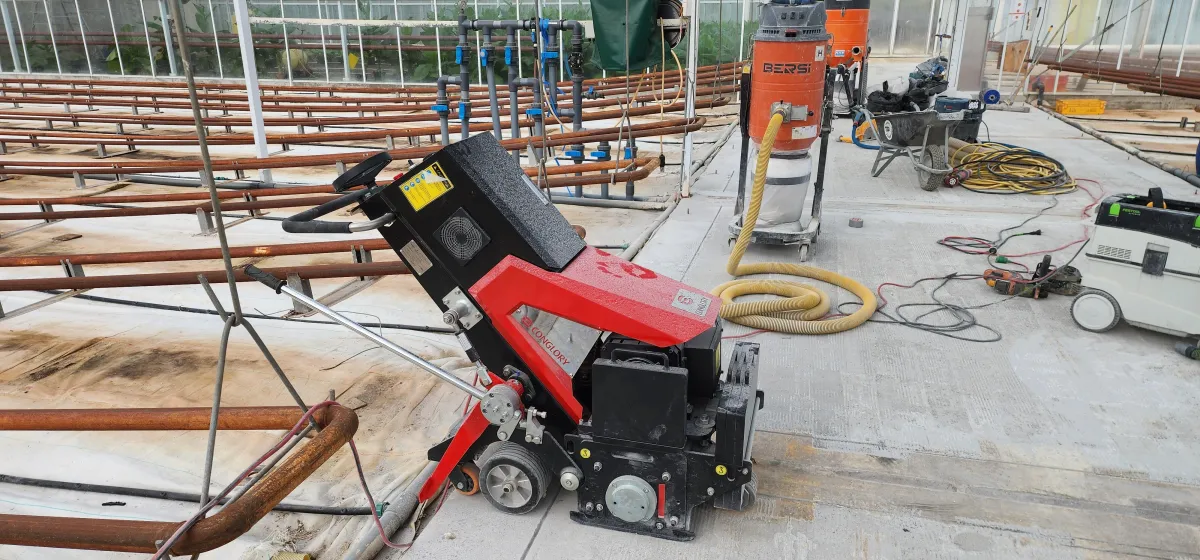
We've have a concrete shaver/scarifier.
This is a specialised machine used for rapid removal of concrete surface.
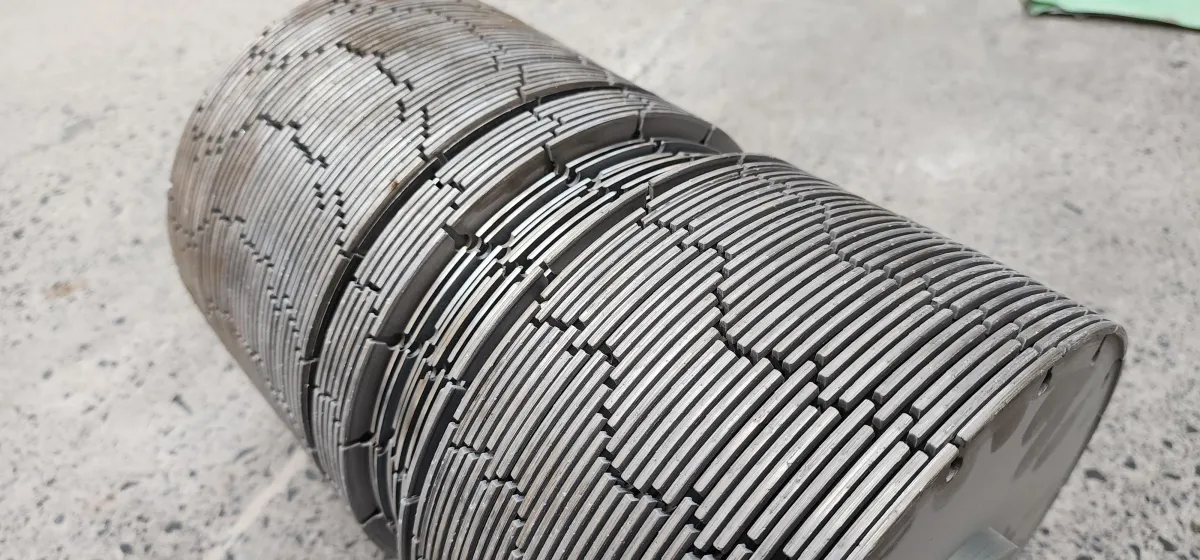
With 2 different style drums, a set of 86 saw blades or a rack of tungsten carbide hammers, it can rapidly remove up to 15mm of concrete in a single pass.
We use this machine to reduce the height of entire slabs, high areas or the removal of thick toppings or coatings.
This is not a precision machine - think of it like a chainsaw, great for getting rid of the bulk of material. Also good for prep for thick coatings as the bonding profile is amazing.
We also have Bush Hammer attachments for our grinders that create a rough surface profile and offer faster "stock" removal than diamonds (but not as fast as the shaver).
Cuts up to 320mm x 15mm deep channel at a time, or can be adjusted for smaller widths or les depth.
Floor Leveling
2 types of floor "Leveling"
Level and flat can be very different things.
Level is an absolute value where it relates to being perfectly horizontal.
The NZ flooring standard says floors should be flat, with a tolerance of +/- 3mm over 3M length.
What this means if you get a 3M straight edge and sit it on the floor and look at the profile, it should not deviate more than 3mm above or below a centre line

Floor Leveling
Floor Leveling is the easiest target to measure and achieve, because it's and absolute and we can just check the floor with a laser level. We do this by plotting the floor on a 1M grid, or 0.5M if higher accuracy is required or the floor has major deviations. Add all the measurements together and divide by the number of measurements to get an average. Multiply this by the area to get the volume of leveling compound required. We add 3mm because the product has a minimum thickness
Floor Leveling is also easier because the compound wants to run level. It's not perfect, because it has more tension than water, but gravity makes it want to level more than form humps.
Floor Flattening
The flooring standard talks about floor flatness. This is because particularly for floor coverings, humps can cause excessive wear on high points - also furniture does not like bumpy floors.
We make a floor flat by filling the hollows (and maybe by grinding the humps). If we look at the image above we would either fill to the +3mm line, or grind the highs down and fill to the new highs.
It can be tricky math when the floor heights vary wildly across the floor because you need to see how each measurement corresponds to the surrounding heights.
When to grind down highs?
In some instances grinding down high points can save lot of cost. In the case of Leveling, reducing the overall depth of fill by 5mm will save 5L of fill per SqM. On a 100 SqM floor this could save thousands of $$.
This needs to be weighed against the time and cost of identifying and removing the high points.
If it is only a few isolated areas, then it certainly makes sense.
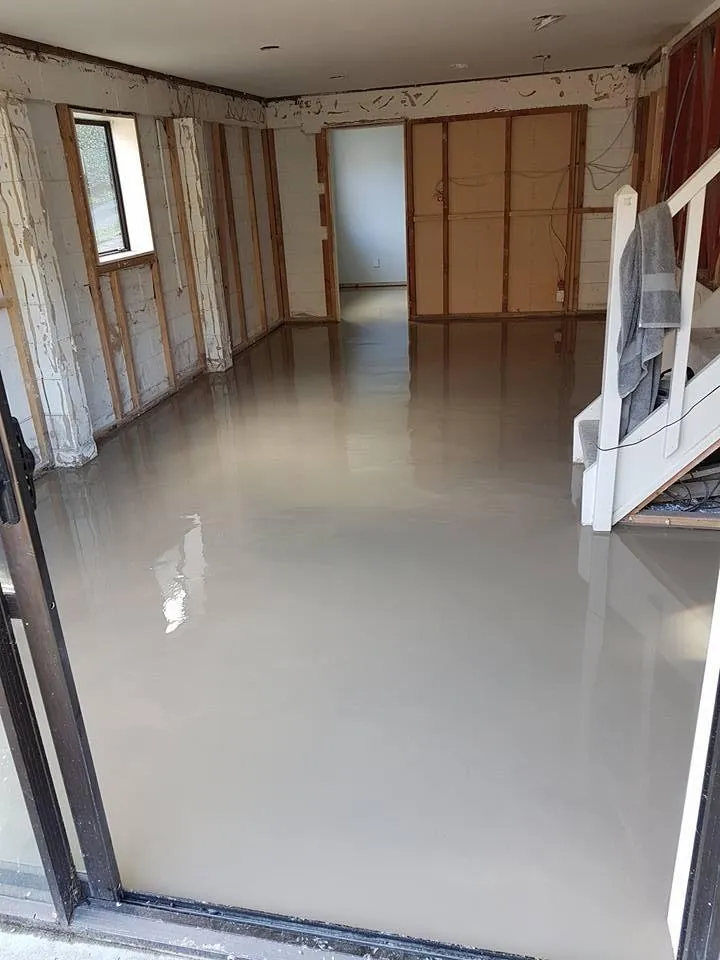
Using the right leveling compound
There are many different formulations of leveling compound. Each one is designed with specific advantages. The variations include things like the minimum and maximum thickness they can be laid, the compressive strength, the flexural strength, and the curing speed.
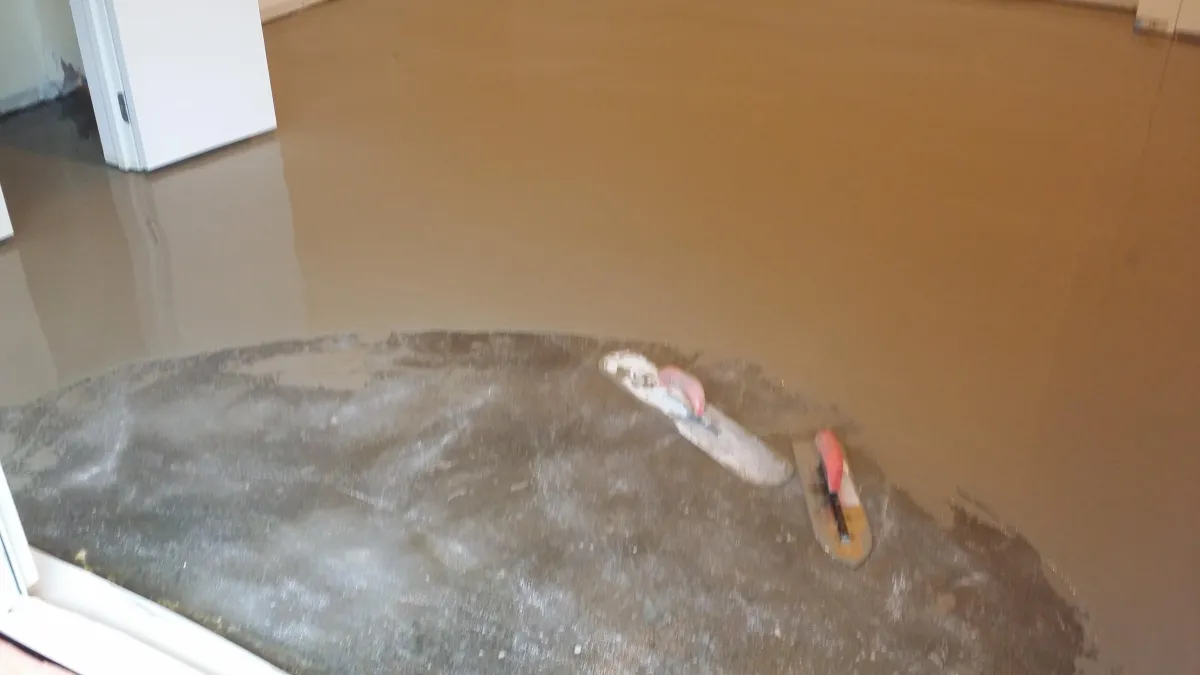
Right Preparation and Installation
We see so many failures where the product does not bond to the substrate, Grinding or roughening the surface is very important. Priming also improves adhesion, as well as reducing aeration or "ant holing". We have over 25 Years experience install levelling compounds.
Joint Repairs
Industrial floors and devaning yards
Busted up joints in concrete floors can cause all sorts of issues for factories, warehouses and production facilities. The wear at joints can accelerate quickly, with the broken material making the wear more aggresive.
This often leads to wear and damage to machinery and trolleys etc than traverse the joints.
Replacing wheel on fork hoists can run into the thousands.
We also do a fair bit of work for container yards that need to meet MPI requirements
Understanding concrete floor joints.
Floors typically have 2 forms of joints.
Control cuts - these are concrete saw cuts made into the concrete surface not long after the concrete is poured. The purpose of these cuts to to create tension release points. As concrete cures it shrinks, and that shrinkage creates tension. By putting a cut into the surface, it creates a weak point for the concrete to crack. If the top of the crack starts in the cut, then it controls where it is in the slab.
Construction joints - these are more typical in larger slabs, the spacing worked out by the engineer.
A construction joint is made by finishing one pour and starting a new pour. Often these involve an armored joint with steel edges and sliding dowels to allow the slabs to be connected without total constraint.
Concrete does most of it's shrinkage in the first month, but will typically continue to shrink for 18 months or more.
How we repair concrete floor joints
A lot of our process is determined by how bad the issue is.
Solid repairs
Many control cuts can be filled and forgotten - if the floor is fully cured and there is minimal risk of future movement. We typically run a saw blade though the cut to clean it out and ensure a porous surface to bond to. We use an epoxy or polyurea repair mortar to make a solid bond and fill. This is typical when we are doing a seamless resin coating system on the floor, or for industrial floors.
Flexible repairs
It's important to understand the use of the floor. Often joints need some flexibility, but the edges of the joint also need support. Floor that are subject to heavy weights and the use of small solid wheeled fork hoists require a high modulous polyurethane filler. The use of a backing rod allows less constrained flexing
Some projects - if the work is done before there are issues, are very straight forward. We have a joint filler machine that makes this work faster.
Other projects require a lot of cutting and preparation, filling and recutting to make professional repairs.
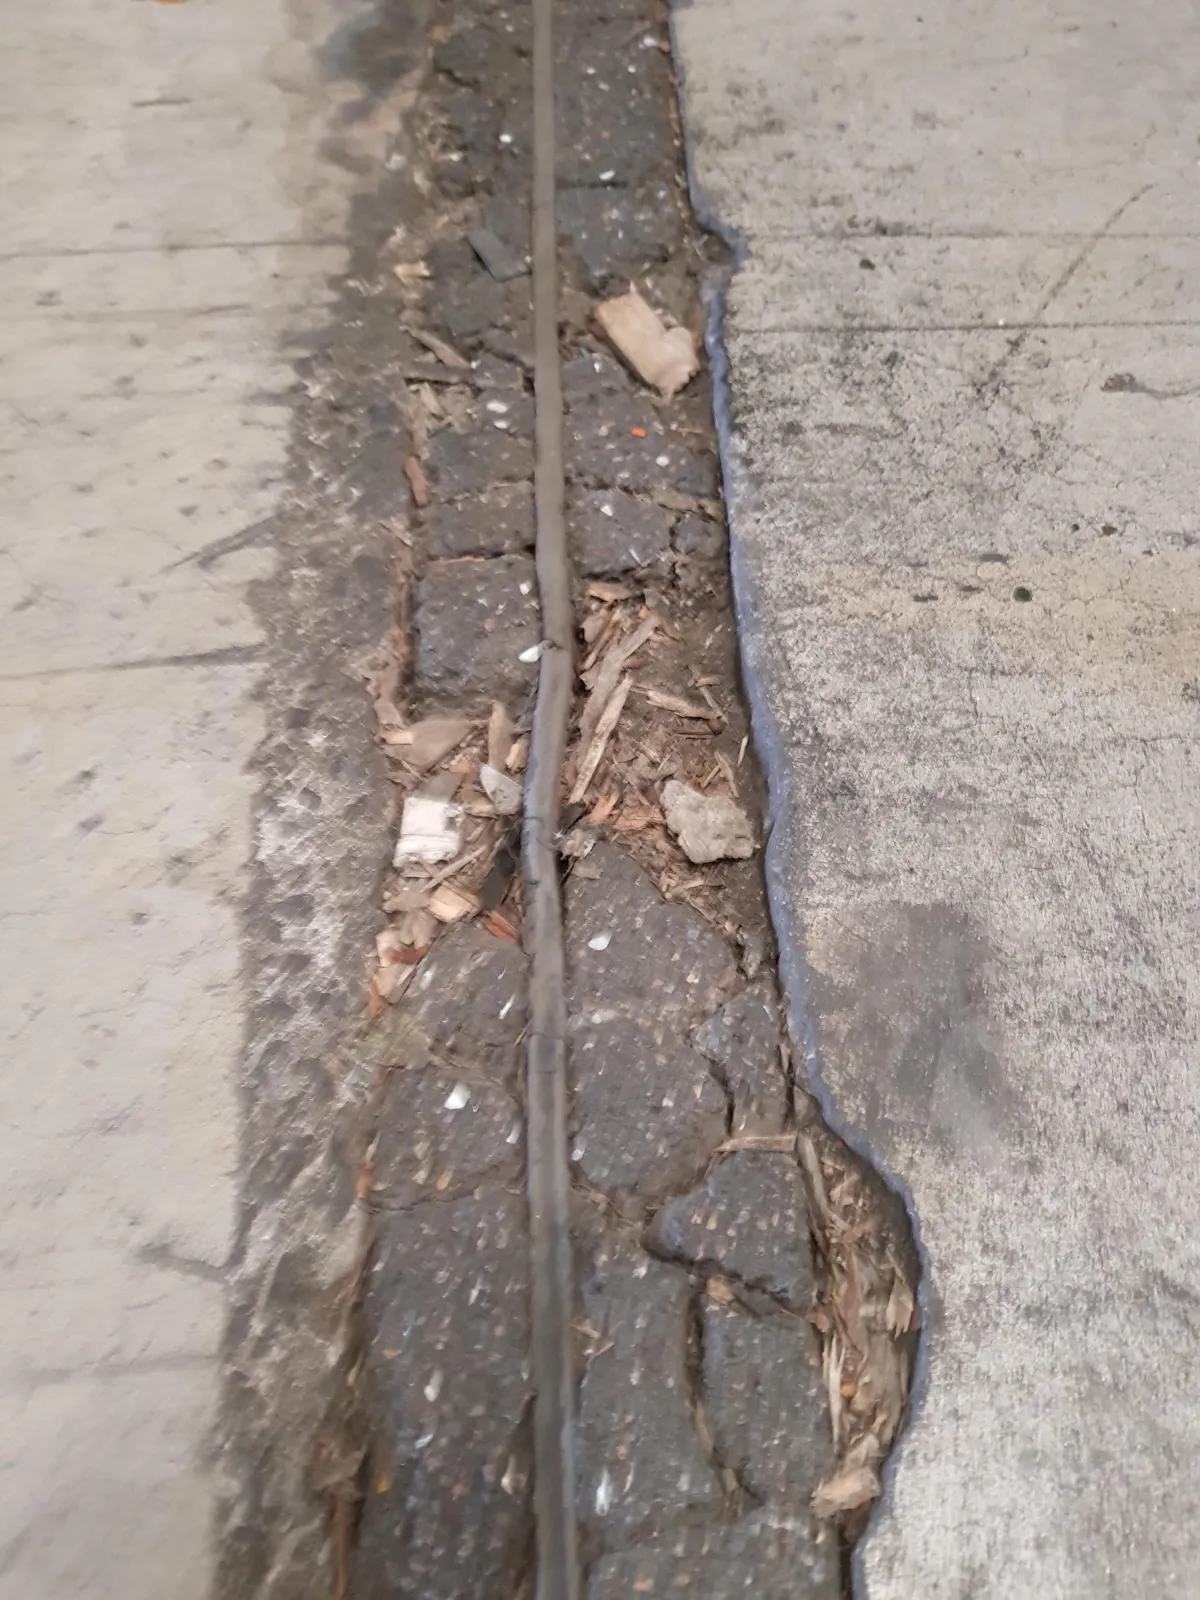
Same joint below and above

Crack repairs
Why does concrete crack?
Concrete cracks for a number of reasons
It can crack because as it cures it shrinks, if it dries out too quickly or is constrained, it will crack.
Concrete can crack because of ground movement.
Concrete can crack because of external forces - i.e heavy vehicle access, tree roots.
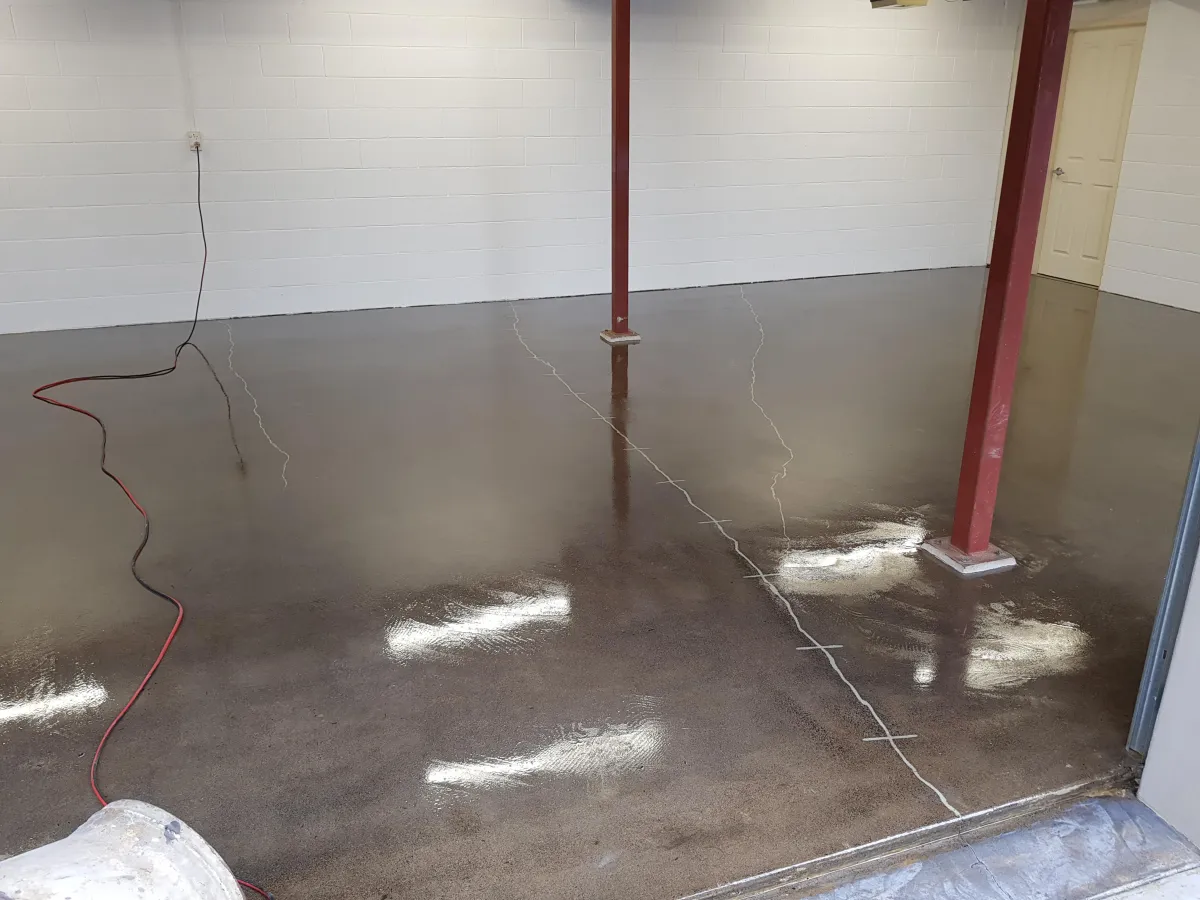
We have a few different ways we repair cracks. We have good success, but we cannot guarantee the concrete will not re-crack.
We do 3 types of repairs
Cosmetic repairs - these are typically for polished concrete, where a "proper repair" would look worse then the crack. these involve filling the surface of the crack trying to disguise it.
Resin repair - we cut open the top of the crack to allow resin to create a funnel for the resin to flow into the crack.
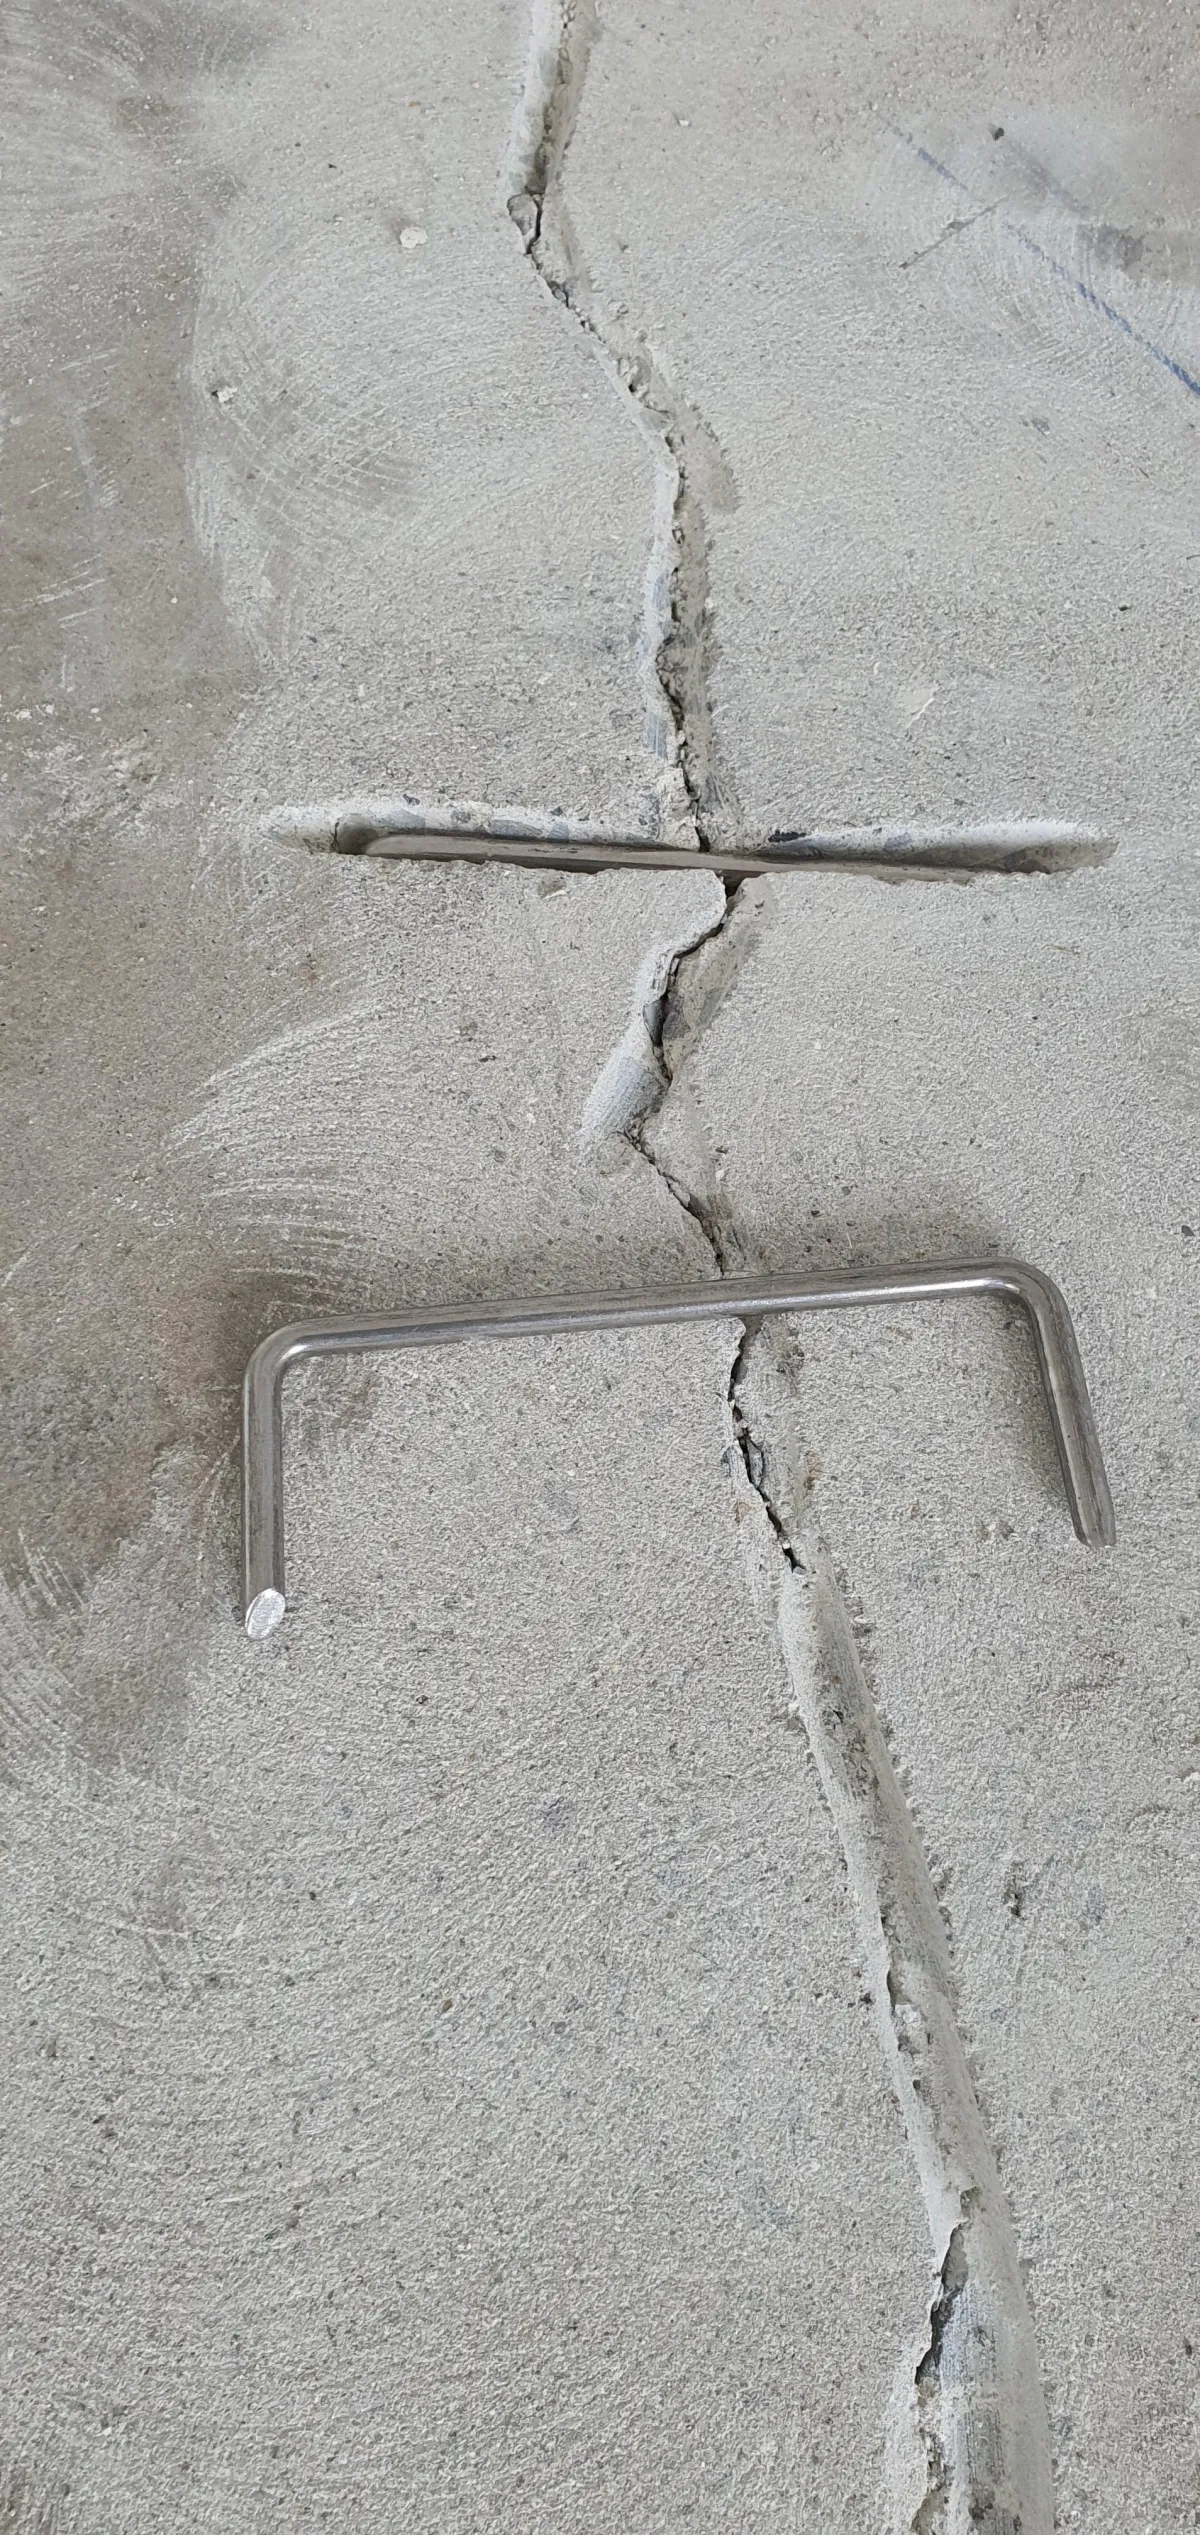
Staple repair - we do like the resin repair method plus we drill holes and put a cut across the crack and inset a steel staple to add reinforcing.
Office: East Tamai, Auckland
Call 0800 733 566
Site: www.flooringauckland.co.nz